Camera Tracking and Keyframe Animation
In film, moving a camera steadily through the scene is called a TRACKING SHOT. Typically in the motion picture industry, a tracking shot is filmed on a dolly or a camera rig that rolls on a specialized track system. The subject in focus may be moving along with the camera at the same speed, or the focus may be the landscape unfolding. The use of the tracking shot adds a temporal aspect to the scene, and this device may be used to show a change over time.
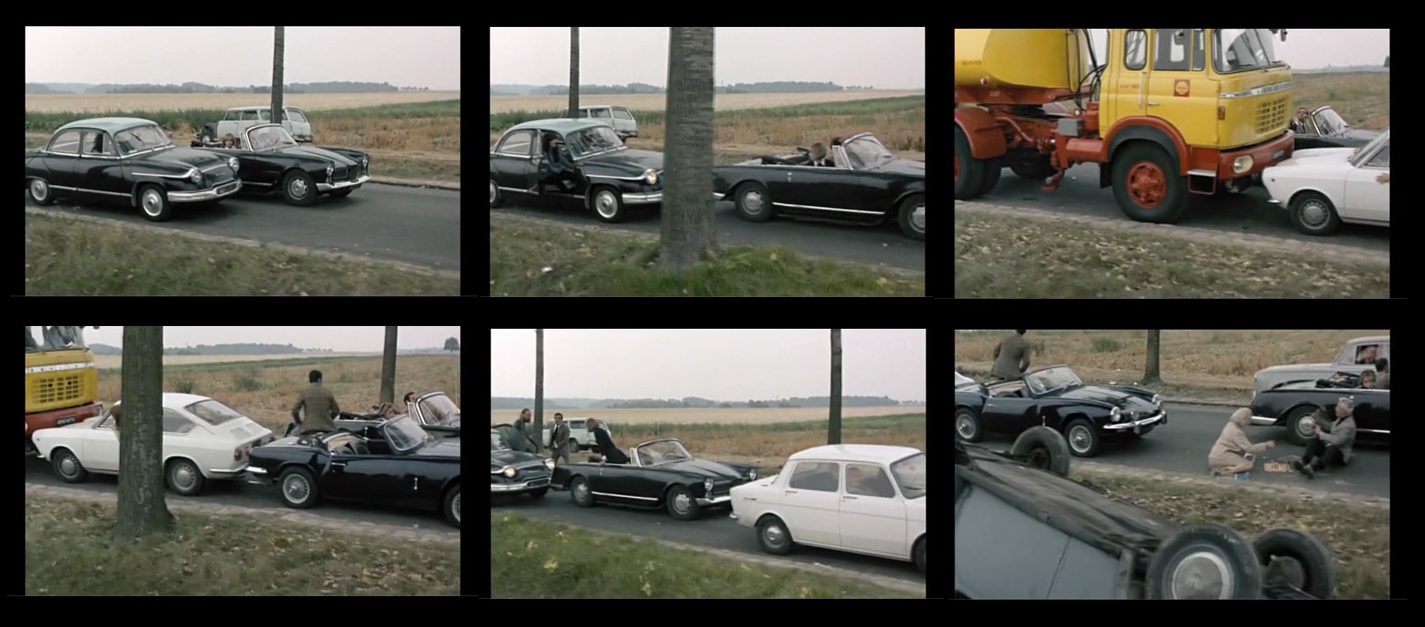
An example of the tracking shot is seen in Weekend, the 1967 film by Jean-Luc Godard. A long traffic jam is depicted, where a single car is followed to show the linear progression through the landscape. The passengers are forced to interact with other motorists along the way, while a tragic scene unfolds as the car progresses. The path of the camera itself is never seen, maintaining the illusion that the audience is floating past the traffic jam.
Clip from Weekend (Jean-Luc Godard 1967)
To render objects moving through a landscape with Adobe After Effects, KEYFRAME ANIMATION may be employed to set objects in motion. The same technique to make objects move across a still image can also create the illusion of stationary objects in a TRACKING SHOT, where the camera is seemingly moving by these objects at speed. These artificial objects must be placed in the video footage so that they appear to move at the same pace as the surrounding scenery.
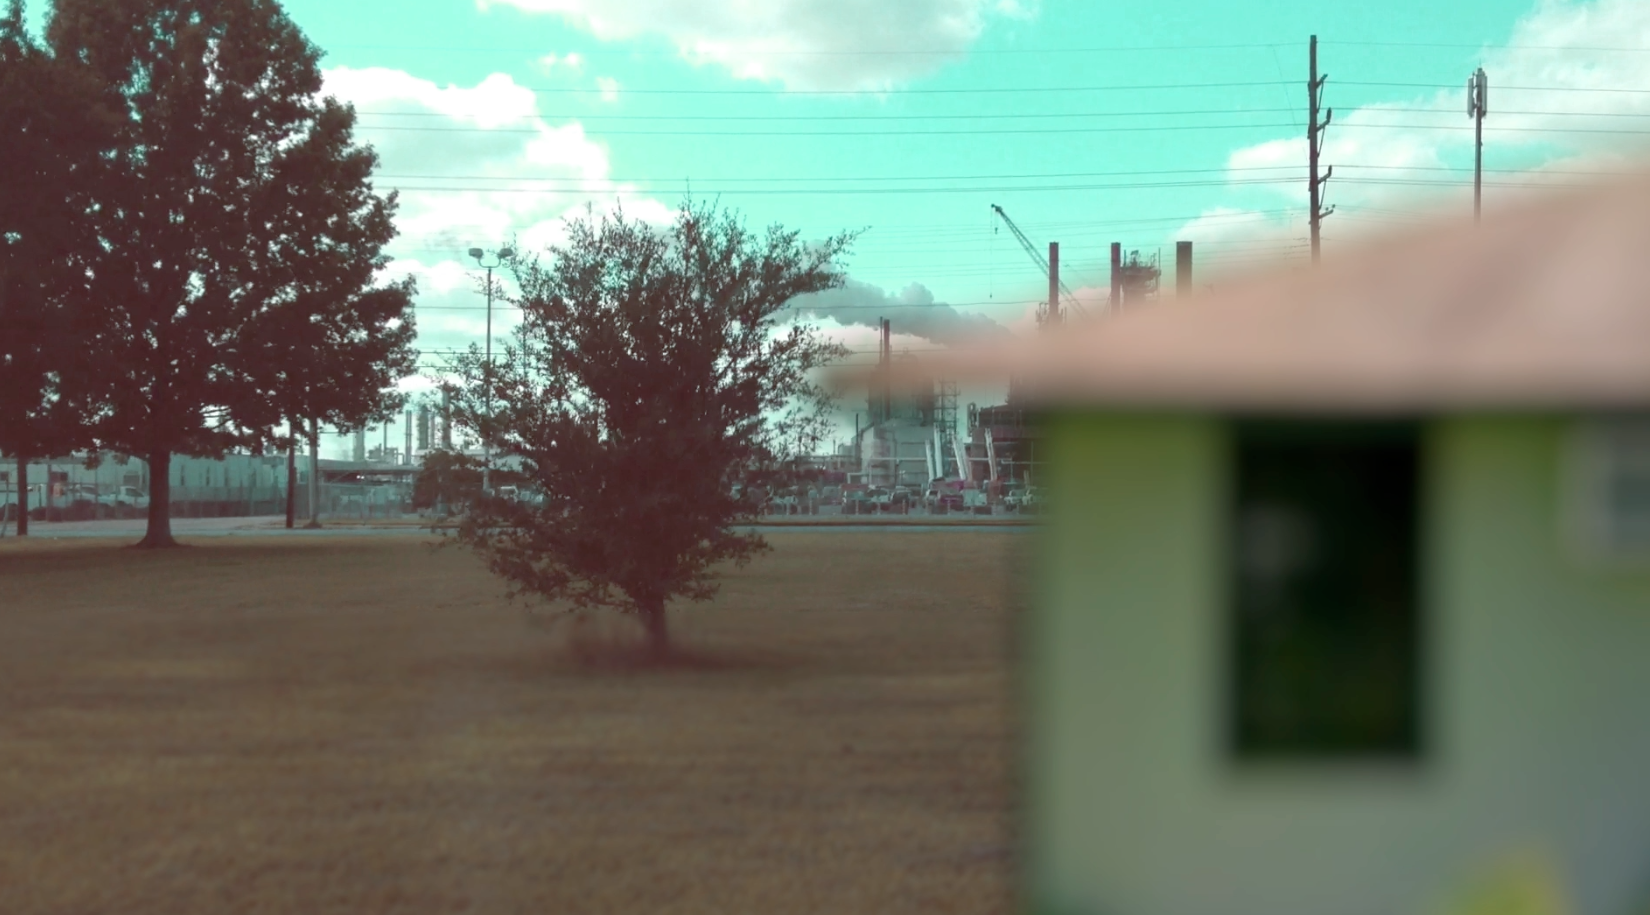
In the following example, video footage was recording using a tracking shot, with the camera mounted to a car moving at 35 miles per hour. A still image of a house will be layered into the foreground of the video as if the house were actually built into the passing landscape. In order to achieve this, the house must move through the picture frame at the exact speed of the surrounding terrain.
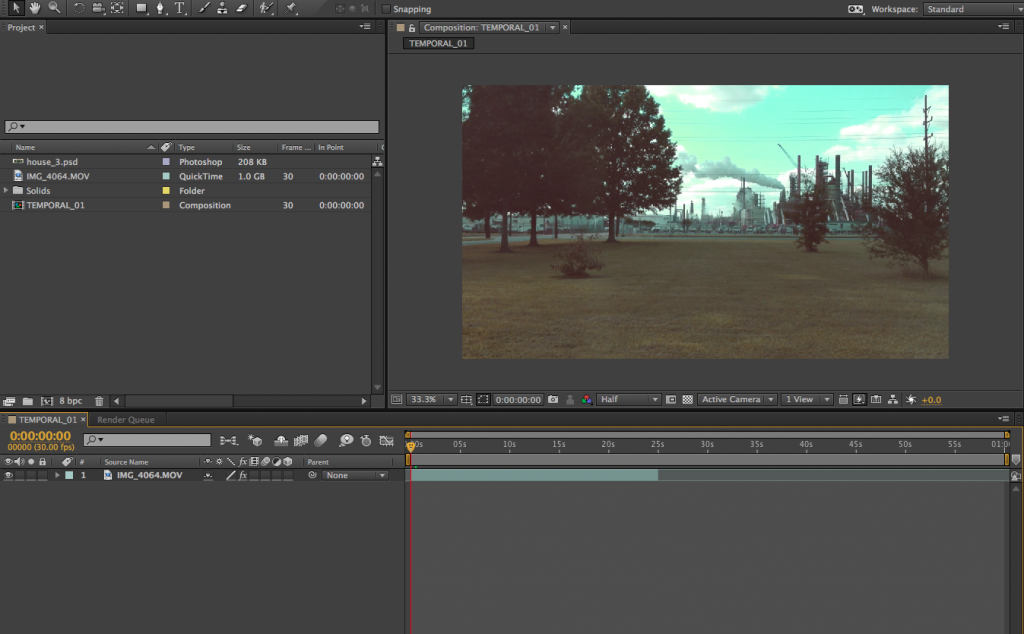
Once a new composition is created, the raw footage .MOV file is imported into the PROJECT WINDOW. This .MOV file may be then dragged into the TIMELINE WINDOW to be edited.
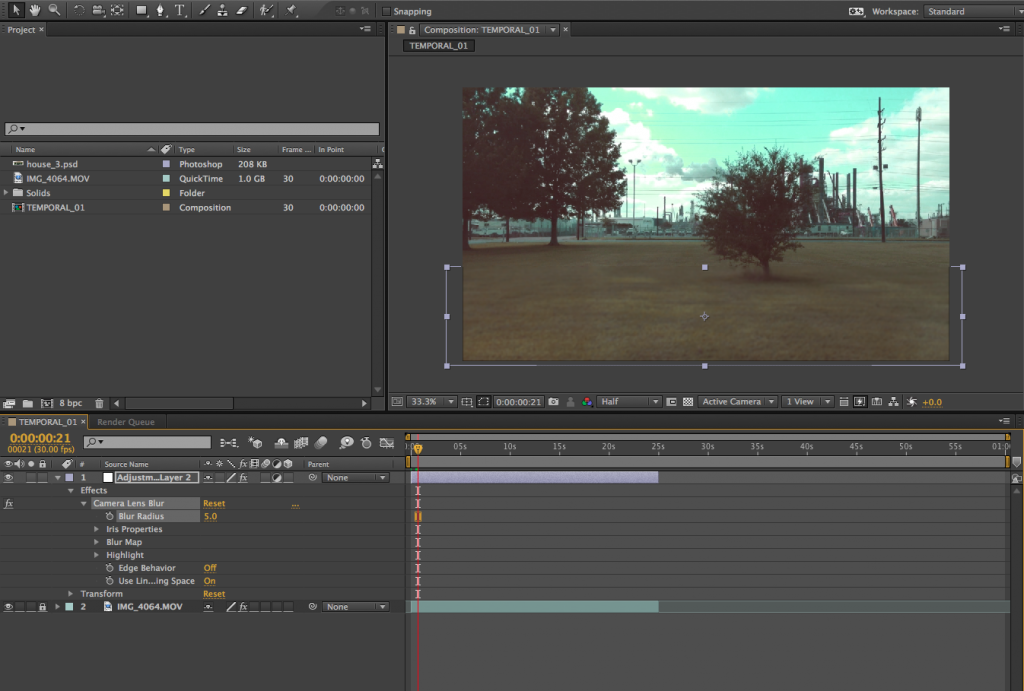
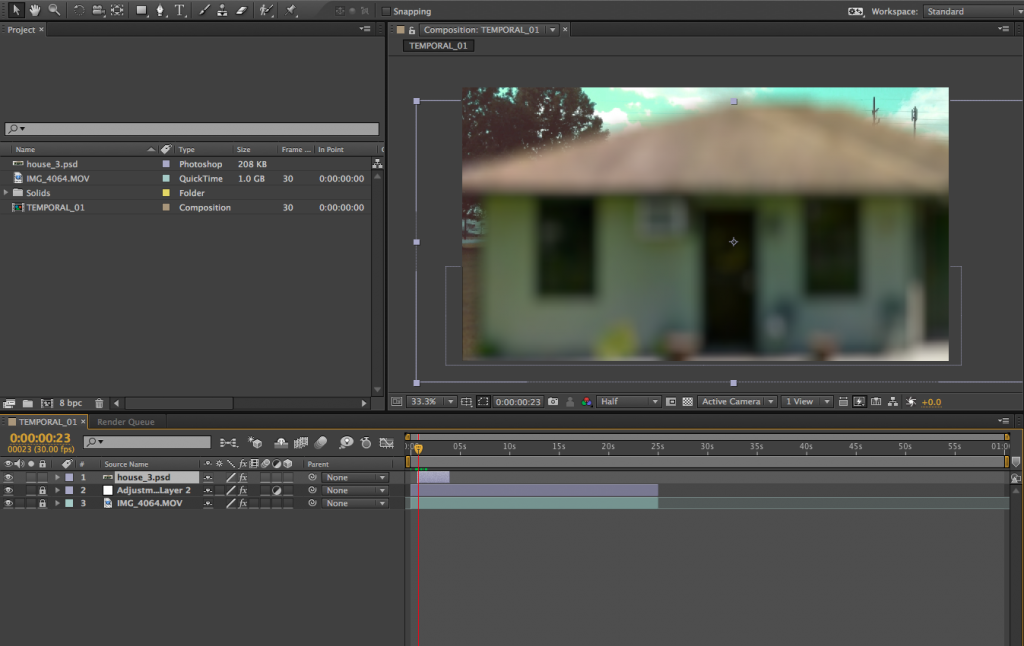
Firstly, the foreground of the raw video footage must be blurred slightly. This will ultimately help enhance the appearance of the house sitting in the landscape. Add an attachment layer over the .MOV layer to give a slight lens blur to the bottom quarter of the video. Under the EFFECTS tab> CAMERA LENS BLUR tab, increase the BLUR RADIUS. In this example, the blur radius was increased to 5.0 degrees.
Once the house image is imported into the project window, and dragged into the timeline window, the position may be adjusted. Using keyframe settings, changing the position of the house image over time will animate the scene.
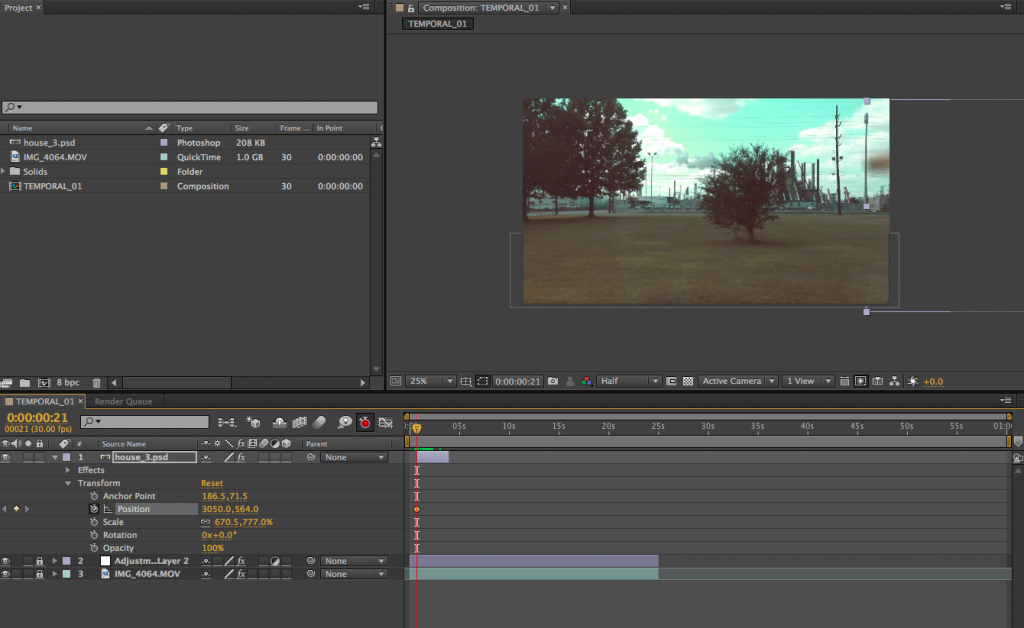
Slide the CURRENT TIME INDICATOR to the moment where you want the house to enter the video frame. With all other layers locked, select the house and move it off the right edge of the video frame. The camera in the video is moving from screen left to right, so the house image will be animated from right to left to create the scene.
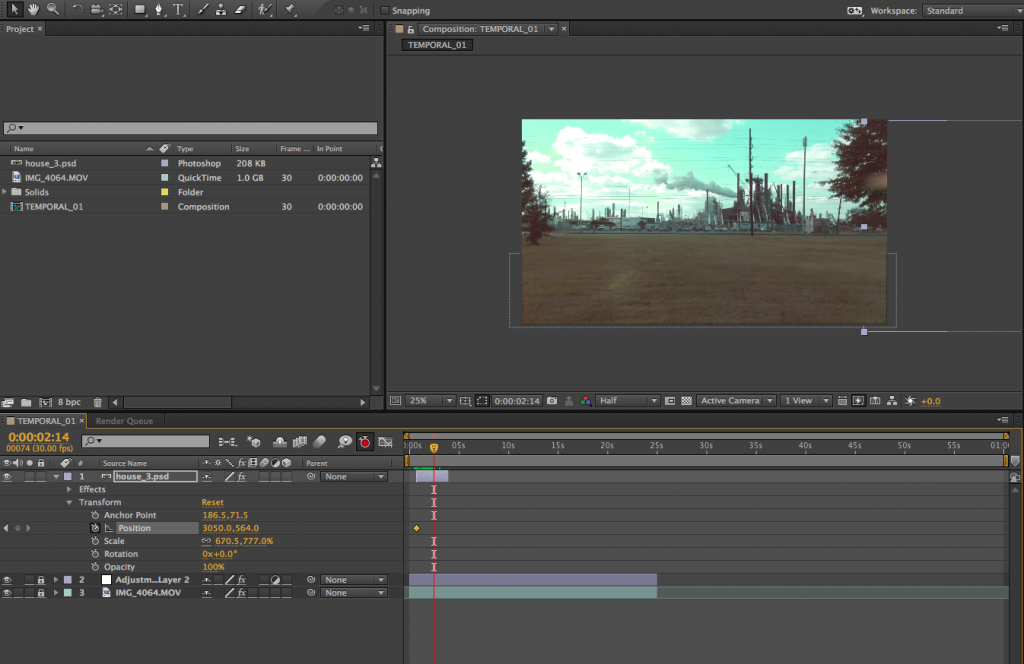
To animate the house, select the POSITION button under the TRANSFORM tab, and turn on the AUTO KEYFRAME button. A small yellow diamond icon will indicate that the first keyframe is set.
Move the current time indicator to the moment the house would naturally disappear from the video frame.
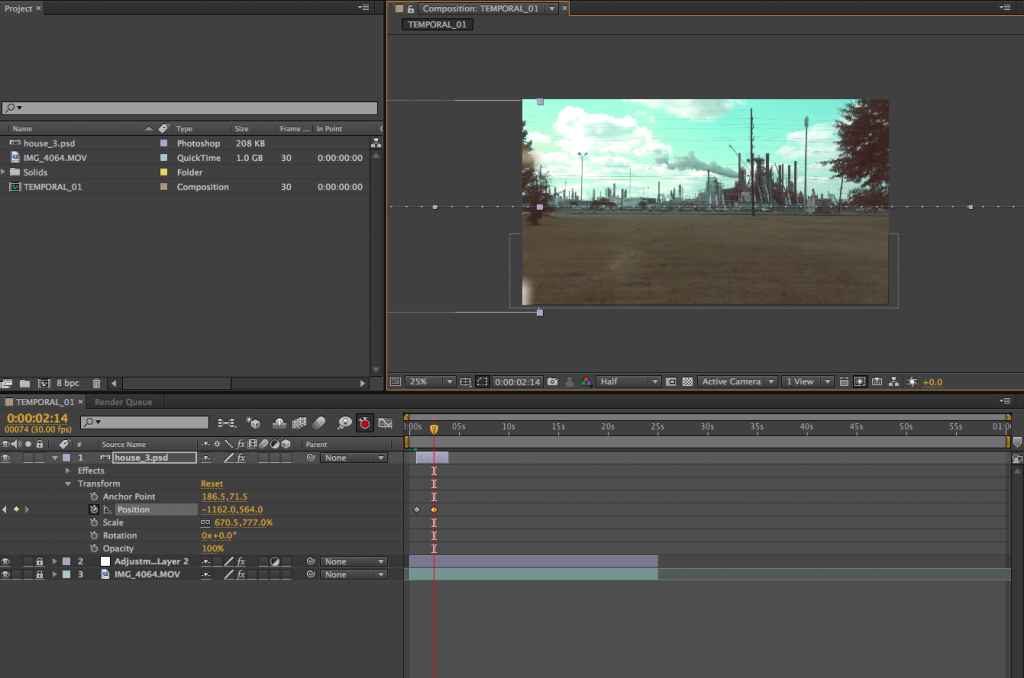
Select and move the house image across to the left side of the video frame, so that the entire image sits just off the left edge. A second yellow diamond will appear, indicating the second keyframe.
Turn off the AUTO KEYFRAME button, and preview the video to ensure that the movement of the house is in sync with the speed of the landscape. Adjusting the spacing of the keyframes will help fine-tune the speed of the foreground house in relation to the background. Other objects may also be added to zoom by in the background. The farther the object is from the camera, the longer it stays in the video frame, and the slower it will move.

