LA 2101 : Project 5.0 – Modeling Terrain
Creating the topography of your plot is the first step you have to do for project 5.0.
- After researching about your landscape and its typical topography, consult the classmates that have the plots right next to yours.
- Make sure you plan your topography according to the one’s of your “neighbors”, by defining elevations around the borders of your plot.
Let’s get started
- Open the file of your assigned plot
- Set the snaps to “vertex” and turn on the snaps
- Go to top view
- Create a plane from the geometry menu, by snapping on the corners of your plot
- Go to the modify panel and adjust the length and width segments
- Recommended is a value between 10 and 20 segments to begin with
- You still can refine your mesh later, but for now we want to save computing resources
- Convert the plane to an editable poly (right click on the object or in the modify panel, convert to editable poly)
- To create a basic topography we choose “polygon” sub-object mode
- Enlarge the soft selection panel
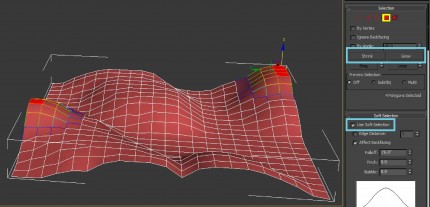
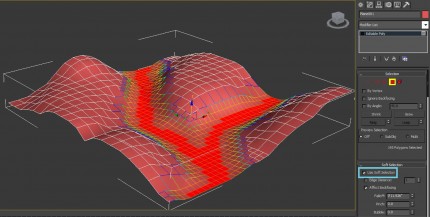
- Click on the check-box ” use soft selection”
- Depending on the effect you want to have adjust the “falloff” which defines the area that is influenced by the selection
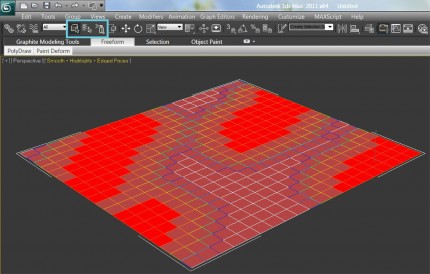
- Now either select individual polygons or use the “paint selection region” tool (press “q” several times until the spray-can symbol appears)
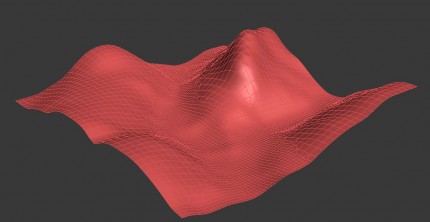
- Using the move tool, you can now shape your terrain
- Often it is necessary to alter your selection to refine your terrain
- Play around with the “falloff” settings
- Or use the “paint selection region” function again or the “grow selection” and “shrink selection” tools which are found in the selection roll-out of the modify panel
- To sculpt your terrain smoothly you have to refine its mesh in certain parts
- Select the polygons you want to refine
- Open the “graphite modeling tools” just above the viewports by double clicking on the panel
- With the polygons still selected click on “tessellate” in the subdivision panel
- By default this generates 4 new polygons for each prior selected one
- It is possible to use tessellate several times to increase the smoothness of the mesh and the following transformation
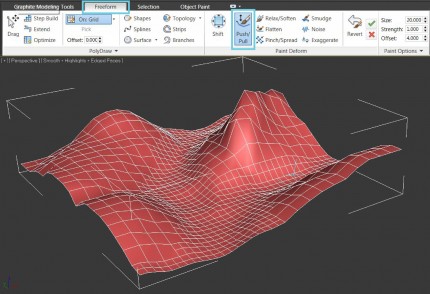
- To fine tune your terrain you can also use the “push\pull” tool from the “freeform” panel under “paint deform”
- Click and drag on you mesh to modify the terrain
- By default the mesh is pushed upwards, reverse this by holding “alt” while dragging
- Hover over each button to get more options and brief explanations
- Often the terrain looks still too rough to be realistic and needs to be smoothed
- Select “polygon” from the sub-object menu and press “ctrl+a” to select all the polygons
- Now pick “turbo smooth” from the modifier roll-out and adjust the settings to your liking
- Be aware that every iteration exponentially increases the polygon count of your model
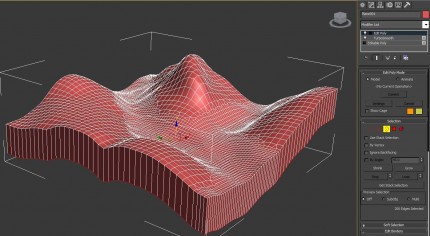
- Once you are content with your terrain we have to bring the edges of your model to one level
- Apply an “edit poly” modifier on your turbo smooth
- Select “border” from the sub-object menu and select the border of your plot
- Use the move tool and hold “shift” down while moving downwards on the “z” axis, to extrude the border of your plot
-
- Select the scale tool and make sure that “use pivot point center” from the roll-out next to the scale tool is selected
- Now scale the borders on the “z” axis until the value is “0”
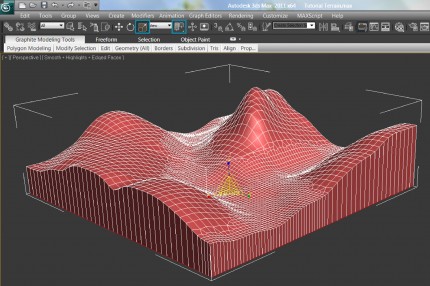
- Now the borders of your model should all be on one elevation, but the bottom is not closed
- Select the border at the bottom of your model and click on “cap” under the “edit borders” roll-out.
- Now your terrain should have a closed bottom, if necessary flip the normals of the cap
- These basic steps should enable you to create a terrain for your plot
To add detailed structures like vegetation please use the object paint tutorial
How to prepare your digital model in order to generate the analog version will be explained in:

