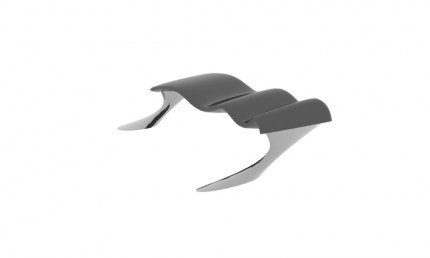
3ds Max NURBS Modeling
NURBS (Non-Uniform Rational Basis Splines) are a type of spline which is particularly useful for modeling smooth 3d surfaces. The lines themselves, called NURBS curves, are used to create NURBS surfaces or objects. An overview of NURBS, with links and examples, is available here.
In this tutorial, we will use NURBS to create highly curved support columns for the shelter made in the loft tutorial.
Before beginning, set units to ‘feet with decimal inches’. Set grid spacing to 1’. In the snaps menu, make sure only ‘grid points’ is checked.
1) Creating NURBS curves from shapes:
- Switch to the top viewport.
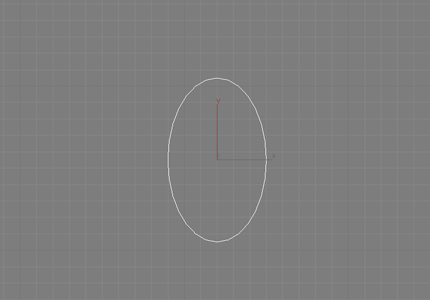
- With snaps on, draw an ellipse (from the shapes menu in the create tab) roughly 6’ wide and 10’ long, centered over a grid line.
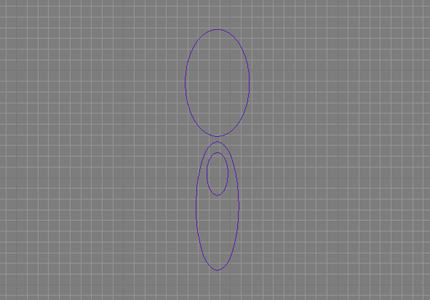
- Just below this ellipse (in the top viewport), draw a smaller ellipse, roughly 1’ wide and 3’ long, in line with the larger ellipse (centered on the same gridline).
- Draw a third, larger ellipse encompassing the second and extending downwards, as shown in the image.
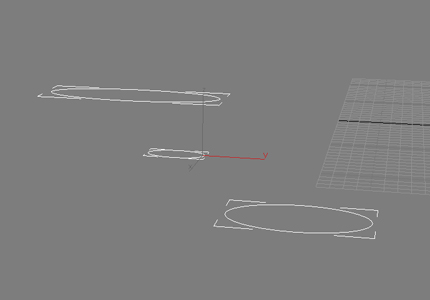
- Switch to the perspective viewport. Move the second ellipse to a height (z-value) of 4’. Move the third ellipse to a height of 8’.
- Right-click and choose convert to, then convert to NURBS.
2) Creating NURBS surfaces from NURBS curves:
- Deselect all but the lowest ellipse (now a NURBS curve).
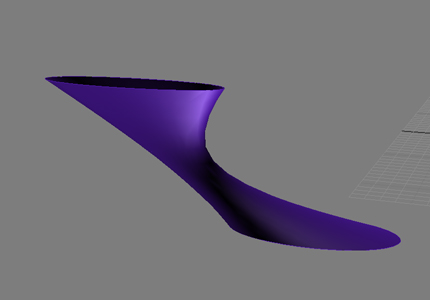
- In the modify tab, go to the create surfaces rollout and click on ULoft.
- With ULoft on, select the three ellipses, from bottom to top. Once the surface has appeared, turn ULoft off.
- Copy the column by holding down shift and moving it along the x or y axis.
- Position the two columns in relation to the roof structure. Fine tune their fit by scaling along axes as necessary.


