Prototype II
[framework]:
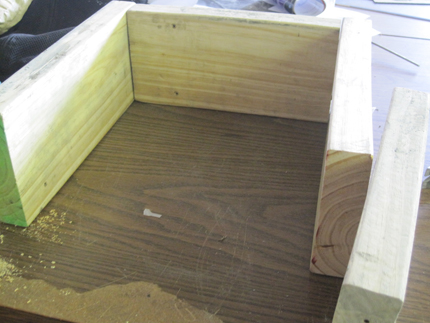
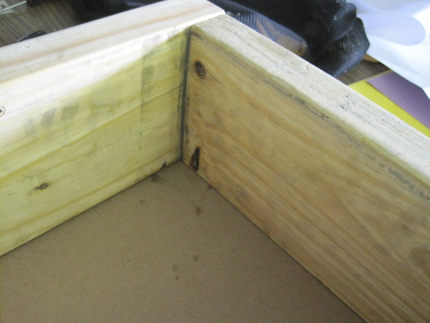
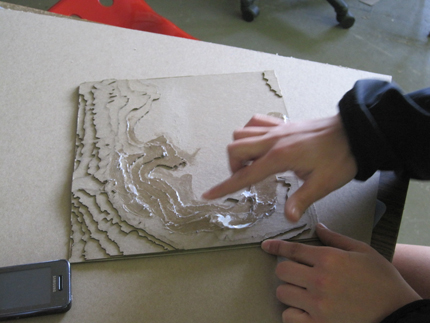
We used the laser cutter to cut an inverse chipboard topography model to use as a mold. We constructed a small wooden frame in which the chipboard mold would fit.
The cracks of the frame were filled with clay and both the wood frame and the chipboard mold were coated in Vaseline to prevent sticking.
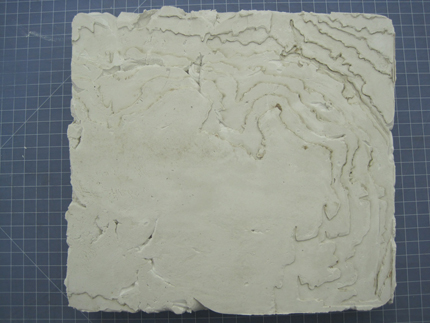
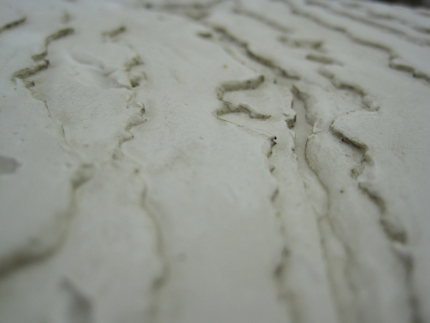
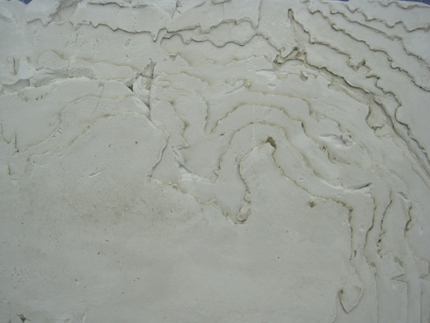
We followed the steps taken by our predecessors which suggest a 3:2 ratio of plaster to water. This combination seemed very soupy so we added more plaster to the mix. We probably added too much and probably took too long to mix it so the plaster began to set before Katie and Jessie began to pour. After shoving the plaster into the mold, we came up with this…
Of course we will need to identify the proper plaster to water ratio for a nicer finish and resolve the issue of chipboard sticking to the plaster, among other things…
[process]:
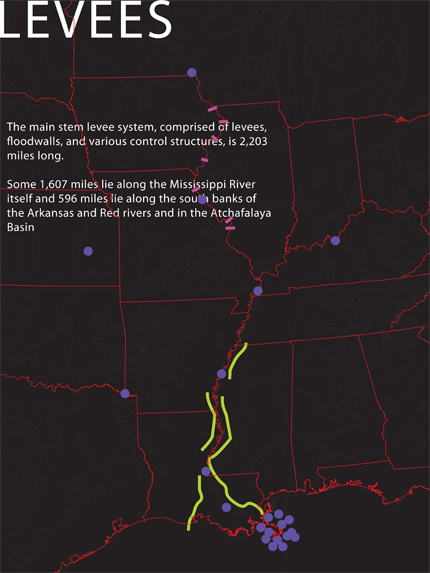
This image shows initial ideas about the process projection animation. The dimensions of the model and thus projection will be 60″ x 45″. The projection will show information about the sedimentation process; this includes where sediment originates before entering the river system, the course the sediment takes, obstacles it encounters, and the deposition of this sediment either throughout the river system, onto the delta, or over the continental shelf.

