Handwritten Annotation for Hybrid Illustration
Annotations may be added to diagrams and illustrations to enhance the information being presented. When developing digital hybrid drawings, conventional hand drawing techniques may be used to further illustrate or explain an idea textually, or with reference lines for example. It must be a deliberate decision to utilize analog styling for annotations, when a crisp and clean digital format is easily achieved through editing programs, like Adobe Illustrator. Favoring the handwritten notations in digital hybrid illustration has its advantages when attempting to emphasize particular aspects that are in contrast.
PART 1: One method of annotating a hybrid digital rendering begins by first determining the dimensions of the final digital image. Select drawing paper that is slightly larger, in order for your guidelines and annotations to run off the edge of the digital image. In this example, the final digital print is an A1 sheet, and the hand drawing is performed on a 26″x 40″ sheet of white Stonehenge paper.
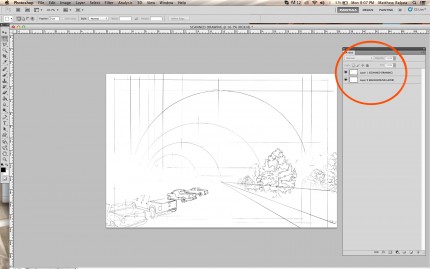
PART 2: Compose the image on paper with construction lines and variations in line weight to enhance the richness of the resulting digital image. Use these early construction lines to also form the composition of your digital component. Do keep in mind that the dark graphite or ink line work will appear white in the final digital image. Avoid the shading of trees or figures in this line drawing. You should predetermine which aspects of the final image will be hand drawn, and what will be photography or digitally based.
PART 3: Scan the large drawing as a BLACK AND WHITE image into a high resolution digital file, at least 300 DPI. If the drawing is scanned in color, make sure the image is DESATURATED in Adobe Photoshop before you begin any editing.
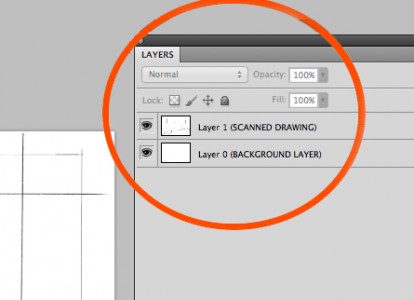
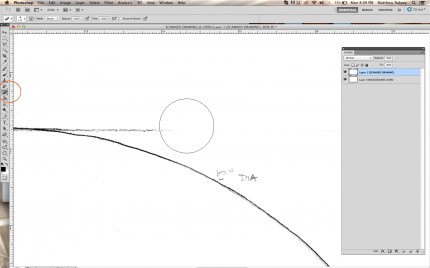
PART 4: Using Adobe Photoshop, the scanned image must be trimmed and adjusted. CROP the image to remove unnecessary edges of the drawing. Create a new, white BACKGROUND LAYER, and clean up any stray smudges of scanning artifacts with the ERASER tool. Merge the scanned image layer with the white background layer, so that there is only one image layer before proceeding.
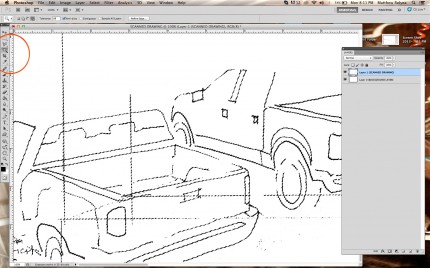
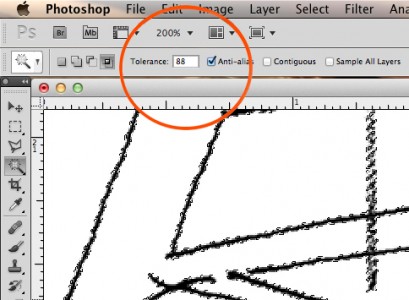
PART 5: Isolate the drawing line work from the white background with the MAGIC WAND selection tool. This make take a few attempts depending on the quality of your drawing, and the intended effect. Try adjusting the TOLERANCE number to modulate the amount of line work you want selected. The best selection for this demonstration is totally black line work, with the least amount of white selected. COPY the desired linework, CUT the selection from the backgound layer, and PASTE the lines onto a new layer.
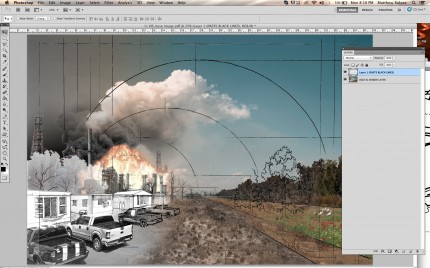
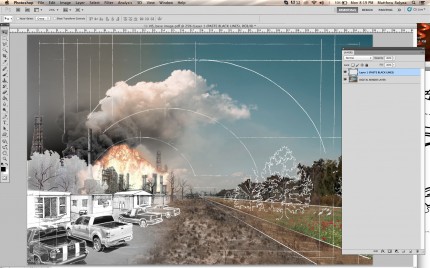
PART 6: Locate the digital render you wish to annotate with your hand drawn line work. This component should be constructed with the composition of your drawing in mind. The drawing should be the same dimensions as the digital layers underneath, so the hand drawn layer meshes with the digital work. With the digital image open in Photoshop, COPY the line work from PART 5, and paste the layer over the digital render. INVERT the dark lines to make them white, enhancing the visibility in the final image. The original scan may be slightly off-register with the true digital dimensions, and some ROTATION might be necessary.
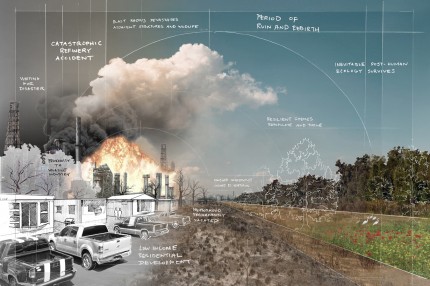
FINISH: Written text may be added to the illustration with the same technique as the larger drawings, using the same process of scanning, inverting and adjusting the line work. Text may be written on smaller 8.5″ x 11″ vellum or trace paper for quicker scanning and editing. Additional hand drawn entourage or footnotes may also be quickly added this way. Adjusting the opacity of the drawing layer may also enhance the quality of the final image. Gradient blending may also more effectively combine the digital rendering with the analog drawing as well.


