3ds Max Splines / Lofting
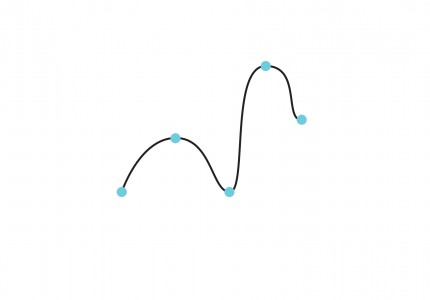
A spline is a curved line, defined by three or more vertices. It can be 2-dimensional, with all its vertices on a single plane, or 3-d.
Splines allow the user to create smoothly-curved lines with high precision. A spline’s shape can be controlled by changing the position, and other properties, of its vertices.
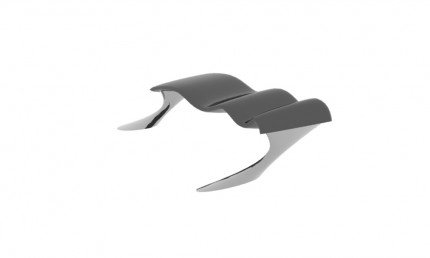
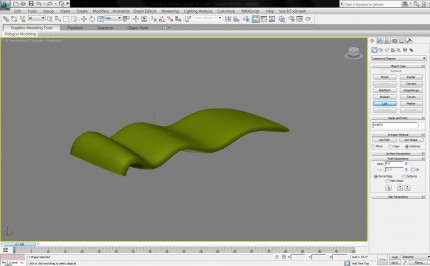
In this tutorial, we will create two splines and a ‘loft’ one along the other to create the curved surface of an overhead shelter, like the one below.
Before beginning, set units to feet with decimal inches. Set grid spacing to 1’. In the snaps menu, make sure only ‘grid points’ is checked.
1) Creating a spline from scratch.
- Switch to the front viewport.
- In the create panel, select the shapes category, and click on line.
- Under the creation method rollout, choose smooth for initial type.
- With snaps on, click on the grid point 8’ above the grid origin to begin the line.
- Move the cursor 2’ up and 2’ to the right. Click again to create the second vertex.
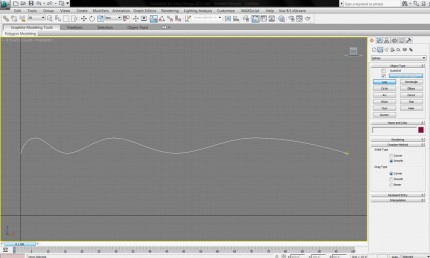
- Continue in this manner, making your line at least 20’ long, between 8’ and 10’ high, similarly to the image below.
- When you have finished adding points, right-click to exit line creation.
2) Creating a spline from a shape:
- Switch to the top viewport.
- Create a circle with a radius of 2’, somewhere near the grid origin.
- With the circle selected, right-click and go to convert to, then convert to editable spline.
- In the modify panel, under the selection rollout, you can now select sub-object modes for the circle. Select the vertex mode.
- In the top viewport, select the upper vertex of the circle.
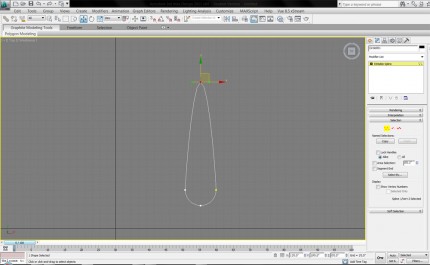
- Use the move tool to move the vertex 12’ up. The shape should now look like the image below.
- Exit the vertex sub-object mode.
3) Lofting a shape along a path:
Lofting creates a 3-d shape by extruding a 2-d shape along a path. The modified circle created above will be lofted along the line. Though lofting is an action applied to two objects, a new completely new object is created. Therefore, lofting is found in the create panel, rather than the modify panel.
- Switch to the perspective viewport. You should be able to see both of your splines – the curved line and the modified circle shape.
- Select the curved line.
- In the create panel, select the geometry category, then compound objects from the dropdown menu.
- Click on loft. The button will only be clickable if the curved line is selected.
- Click the get shape button, then select the modified circle. The shape is lofted along the curve.
- Note that the original two splines (the shape and the ‘path’) exist independently of this new object.
We will add support columns to the structure in the NURBS modeling tutorial.

