Algal Fuel Animation [technique] Documentation
final animation_process {algae——->biofuel}
Technique Documentation
technique_01 {3-D modeling}
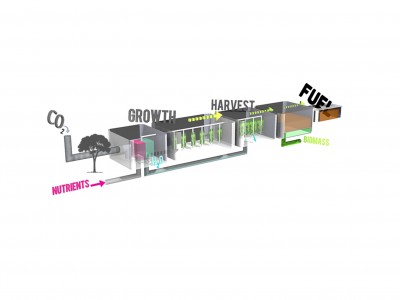
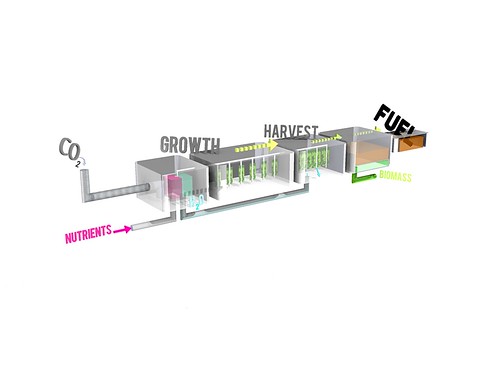
To create the animation, first I had to created a model as a 3-D diagram of the process. This was done using SketchUp and SUPodium Renderer Plug-In for rendering. One important aspect in creating this file was making separate layers for all of the components I would use for the animation: the base, 3-D text, piping and diagram elements like arrows. Toggling the transparency and reflection of the materials was a method I used to find the best light to display the model as one entire piece but at the same time, one that could be used to illustrate the process within.
rendered image of 3-D diagram
technique_02 {exporting 3-d model}
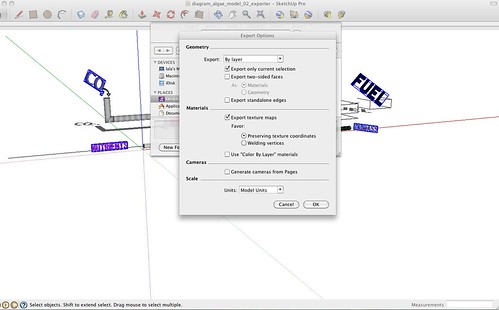
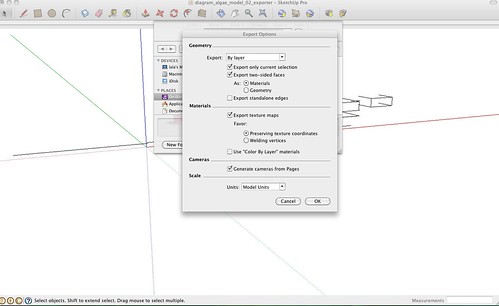
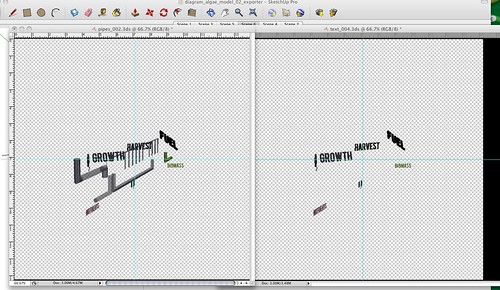
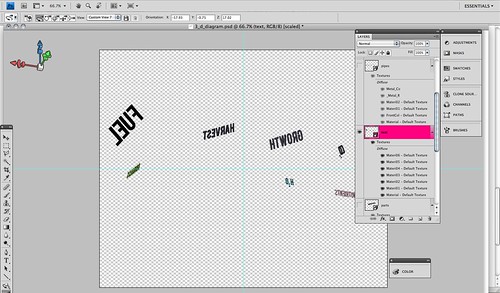
The next technique was exporting the layers from SketchUp to be used as a base in AfterEffects. In order to work with this 3-D diagram, I had to first export them to Photoshop by layer from SketchUp as .3Ds files. Once this was done, I could manipulate these layers in Photoshop to bring them into AfterEffects. Below are screen shot images from my technique.
A great aspect of Photoshop CS4 is the ability to import/open .3ds files and navigate in 3D space in Photoshop. You can create cameras and animations, however I learned that AfterEffects will give you a much higher quality animation than using Photoshop alone will. Using Photoshop was beneficial in manipulating the separate layers.
technique_03 {animating model sequence}
My original plan was to export the .psd of the model with all the layers into AfterEffects as footage so I could work with each individual layer, however sequencing between to models (one that is all joined and the other where separate layers exist) became too complicated and clogging my file size, so I decided to use a different technique to bring the model into AfterEffects. I used SketchUp to create scenes which were my sequencing throughout the diagram of the process and used the Render All option with SUAnimate and Podium. The result was a series of rendered frames that I merged into a .mov file using iMovie. This became the technique that created the base for AfterEffects, where I compiled the final animation.
Challenge: Because I used this technique, the animation result was a bit choppy and I was unsuccessful in finding a better way to mesh the scenes. Perhaps using a significant amount of scenes (100+) with a quicker frame rate would have yielded a smoother result, but with the render power I was working with…the choppy version had to work.
Compromise: I used the finished video in AfterEffects, which allowed for a much faster render time in the final animation and overall cohesive ‘composition-ing’.
Examples of the rendered frames:
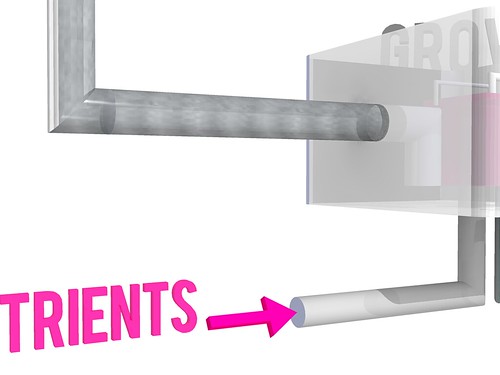
Scene 10: Nutrients in...a place where I would multiply this frame to last a few more seconds to overlay with particle systems in AfterEffects

Scene 016: I created a series of scenes that would zoom closer into the algae as it grows. This rendering is very basic and low quality, however I planned to use photomontaging techniques in AfterEffects to simulate macro-views into algae molecular strands
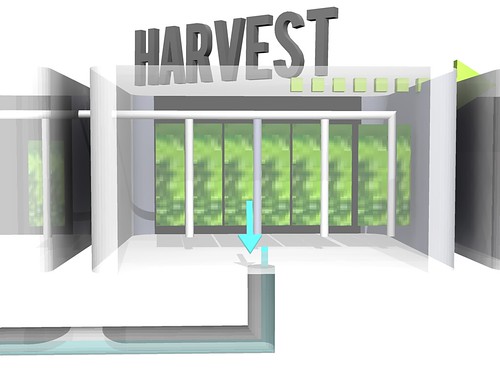
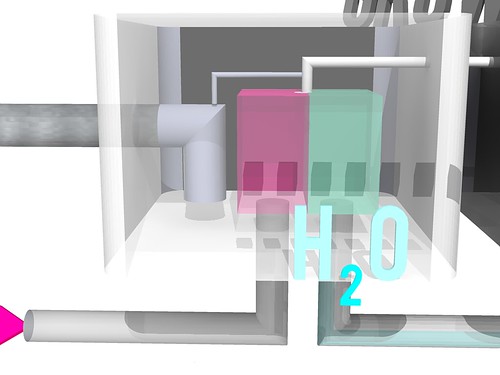
Scene 30: Another frame to be duplicated to use as a base for particle flows of water simulated in AfterEffects.

Nearing the end of the animation...the final scenes would be used to show the end result of the process. I visioned having multiple layers of particles flowing to give life to the still volumes in the model..such as the fuel.

