3ds Max Materials
3ds Max 2011 introduces a new way of configuring materials, the slate material editor.
Though the older material editor (now referred to as the ‘compact material editor’) is still available, the slate material editor offers a more efficient and intuitive interface. The relationships between a scene’s materials and the ‘maps’ which define their parameters are now visually explicit.
This tutorial serves as an introduction and guide to very basic use of the material editor. We will create and assign two materials – one with its default parameters and one with custom properties.
1) Understanding the Interface
- Press ‘m’ to open the material editor.
- If the editor opens in compact mode, select ‘slate material editor’ from the ‘modes’ menu in the editor’s menu bar.
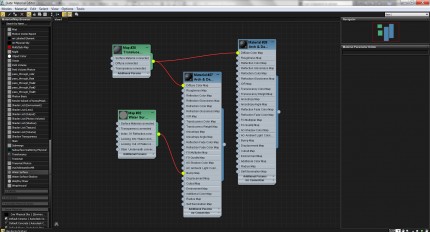
- On the left hand side of the editor is the ‘material/map browser’. As its name indicates, it provides access to all materials and maps available to 3ds Max. It also contains a list of controllers, a list of materials in the current scene, and provides access to the ‘sample slots’ which are featured in the compact material editor.
- The frame to the right of the map browser is the most important part of the slate editor. It functions similarly to a viewport, and provides a view of the 2d plane on which materials are created and configured. One may pan and zoom with the mouse in this space just as in a viewport.
- On the right-hand edge of the editor, you’ll find the ‘material parameter editor’. Its contents change depending on what material and channel is selected. It allows detailed changes of material parameters with the same controls available in the compact editor.
- Many of the most important tools are available in the toolbar, beneath the menu bar, at the top of the editor.
2) Creating and Assigning Basic Materials
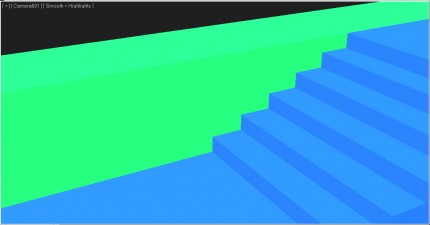
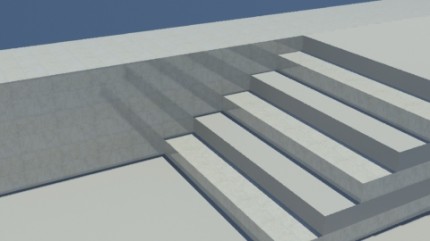
- Create some geometry to apply the materials to, including two objects that touch. The exact form is not terribly important, but this tutorial will reference the stairs seen below.
- We will be using materials designed for use with the mental ray renderer, so make sure it is assigned. Create a daylight system and allow the recommended changes to environment maps and exposure settings.
- Materials can be added by double-clicking a material type in the material/map browser. In the ‘materials’ rollout, find the ‘mental ray’ category and double-click on ‘autodesk stone’. The material should now be added to your material editor workspace.
- To assign the material to an object or group of objects, first select the objects. For the demonstration scene, we will select the wall and every other step. Return to the material editor and click the ‘assign material to selection’ button in the toolbar.
to be continued…


